Let me start by saying...this is probably my first sewing project EVER out side of hems and such.
Well, my Daughters 2nd birthday is quickly approaching and we have decided since she loves Mickey and Minnie Mouse that we are going to have a Minnie Mouse party. (mainly due to Mommy wanting to keep the party girly...otherwise we probably would have gone with a "Wiggles" party...shame on me, I know...but she has years of choosing her own party themes...so I took advantage of being able to choose it myself!)
ANYHOW, I had been looking at so many DIY blogs...and several who had kids had been making shirts and doing over skirts and pants with all sorts of different things. (Any of you who follow the decor and clothing blogs know what I am talking about) SO I got this bright idea, instead of BUYING her a Minnie mouse outfit (that was practical to wear daily) I would make it myself, and I have always LOVED DIY projects. SO after HUNTING high and low for a SHORT-SLEEVED black T-shirt...I gave up and went with a White T-shirt. Had previously bought some Solid pink fabric, pink polka-dot fabric and polka-dot ribbon and set down to due this sewing project.
I found a Mickey Mouse head on line and printed it out on card stock the size I wanted and then pinned it to the solid pink fabric and cut around it. Then ironed on some "wonder-under" (a iron on adhesive) to the underside of the fabric. Then placed it on the shirt and ironed away. (I had to off-center it due to the little pocket on the front, and so it wouldn't be to low on the shirt and risk the bottom part of the mouse being tucked into her skirt band.)

Then I took some Black floss and stitched around the edges. * on my next project I will sew around edges then use the floss....so when washed it won't fray as bad...but I need to have a steadier hand before I do that*
I used the polka-dot ribbon and made a quick bow...following the tips I found on a couple YouTube videos. then attached the bow using a safety pen on the underside. (so I can remove when washing)

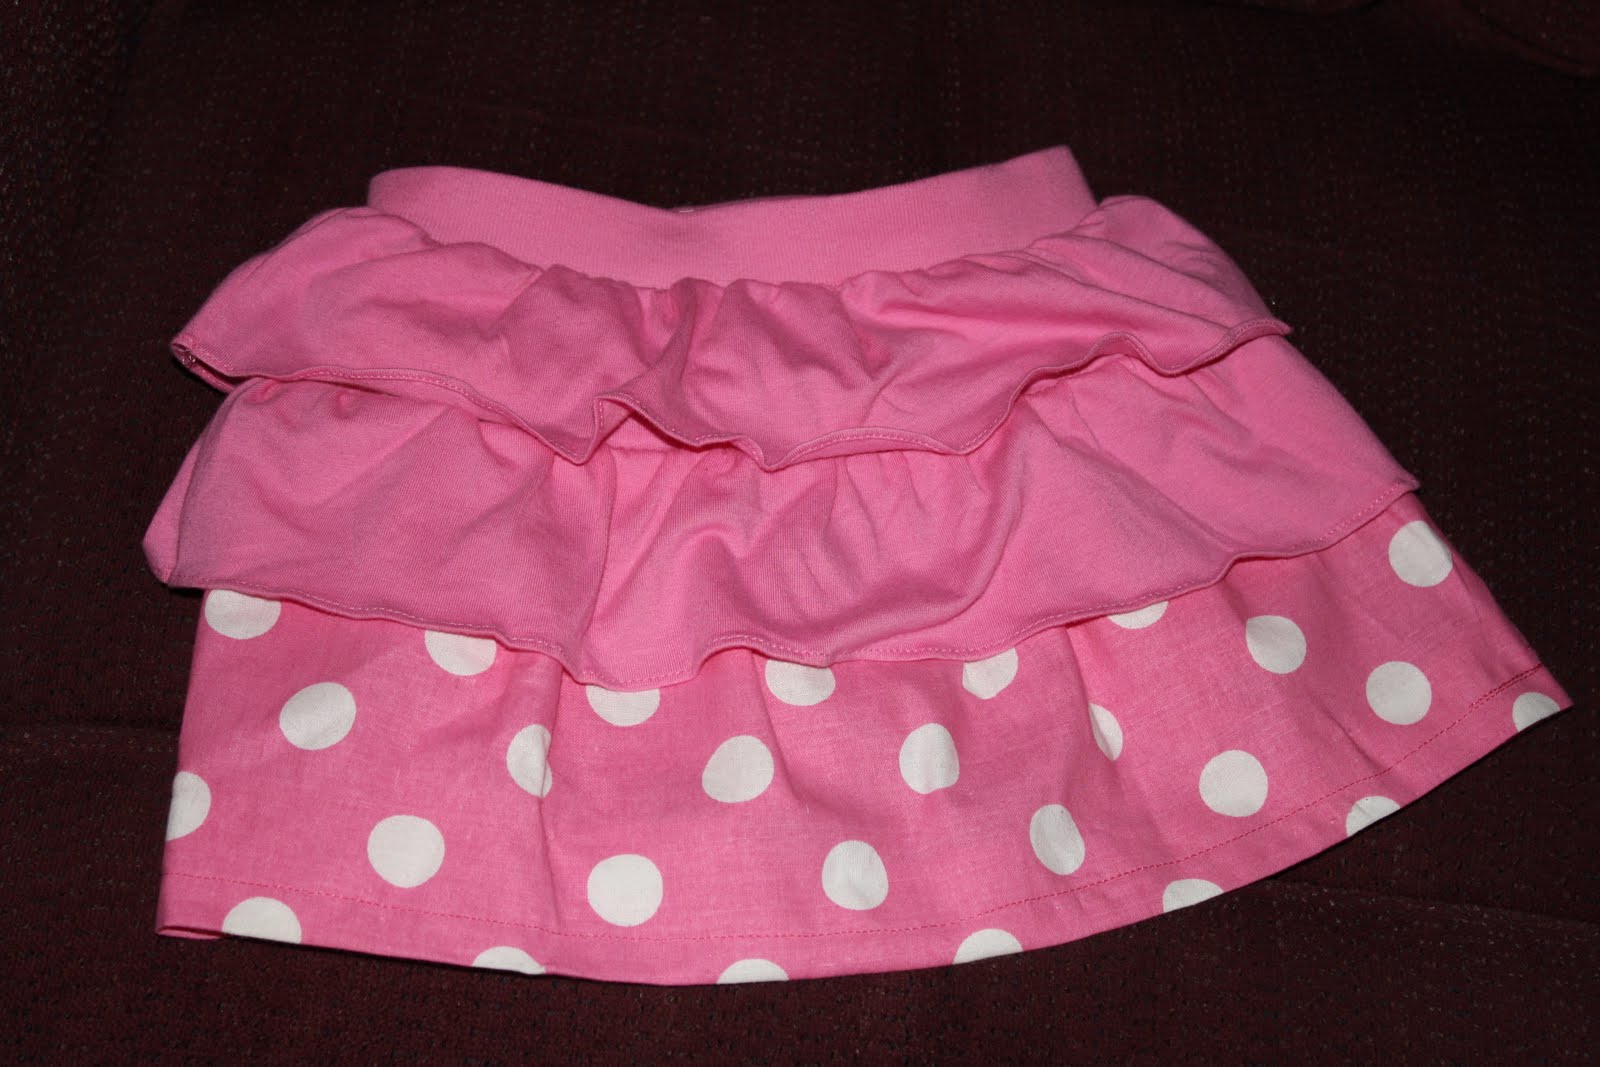
NOW the skirt, was MY hard part. I remind you , I have never sewn anything outside of Hems and slits in my skirts for college. The skirt I purchased at Wal-mart for like $3...it had 3 solid pink tiers. I cut off the 3rd one just slightly below the place where it was attached to the skirt. Then took my polka-dot fabric and began pinning on the underside...allowing a little material to gap between each pin. I actually needed a little longer piece, due to the fact the ruffles are not as big as I wanted but as I said...this was my first time. Then I made the side seam. *which I was pretty proud of...matched up pretty well....but the dots served as a great line to go by so that helped!* Got out my sewing machine (given to me by my husbands grandma) and just sewed straight along the line I pinned. I took out one of her skirts that I liked the length and began penning up the hem line. Then pressed it really well with my iron. (a tip a lady in line at JO-Ann's told me....the best advice she was given and would give to others who are beginning is PRESS everything before you sew it....wether or not its GOOD advice or not...for this project it REALLY helped me) Again the dot's helped me keep it fairly straight. I thought for sure my hem would be all crooked and short in the back. 
I was so excited to do this project ALL BY MYSELF ( yes, I am pretty independent!!!) My husband asked me if I was going to cry! LOL I didn't but I was pretty happy! And it looks so cute on her...and we have Minnie ears with a pink bow...and I am making her a pink bow out of the same ribbon that's on the shirt...due to the fact the ears will probably stay on all of 5 min!
HAPPY CRAFTING!!!