Another project DONE!! YEA for Me! (mind me as I do a little happy dance!)
I was visiting alot of blogs sometime in October and found this project. I did not get the website, but I do believe it was one of CREATIVE BLOGS in my side bar. Sorry I can not take credit for all of it. BUT, I did add my own take.
I could not find the Berry Picks in the color I needed, but as you soon find in crafting SPRAY PAINT goes a LONG way and you find yourself coming back to it OVER and OVER again. (Right Leah???)
Any how, I just happened to have the colors I needed at home that I had purchased to go with 2 other projects. (still wating to be done. In my defense one is a future Jr. Church decor project.)
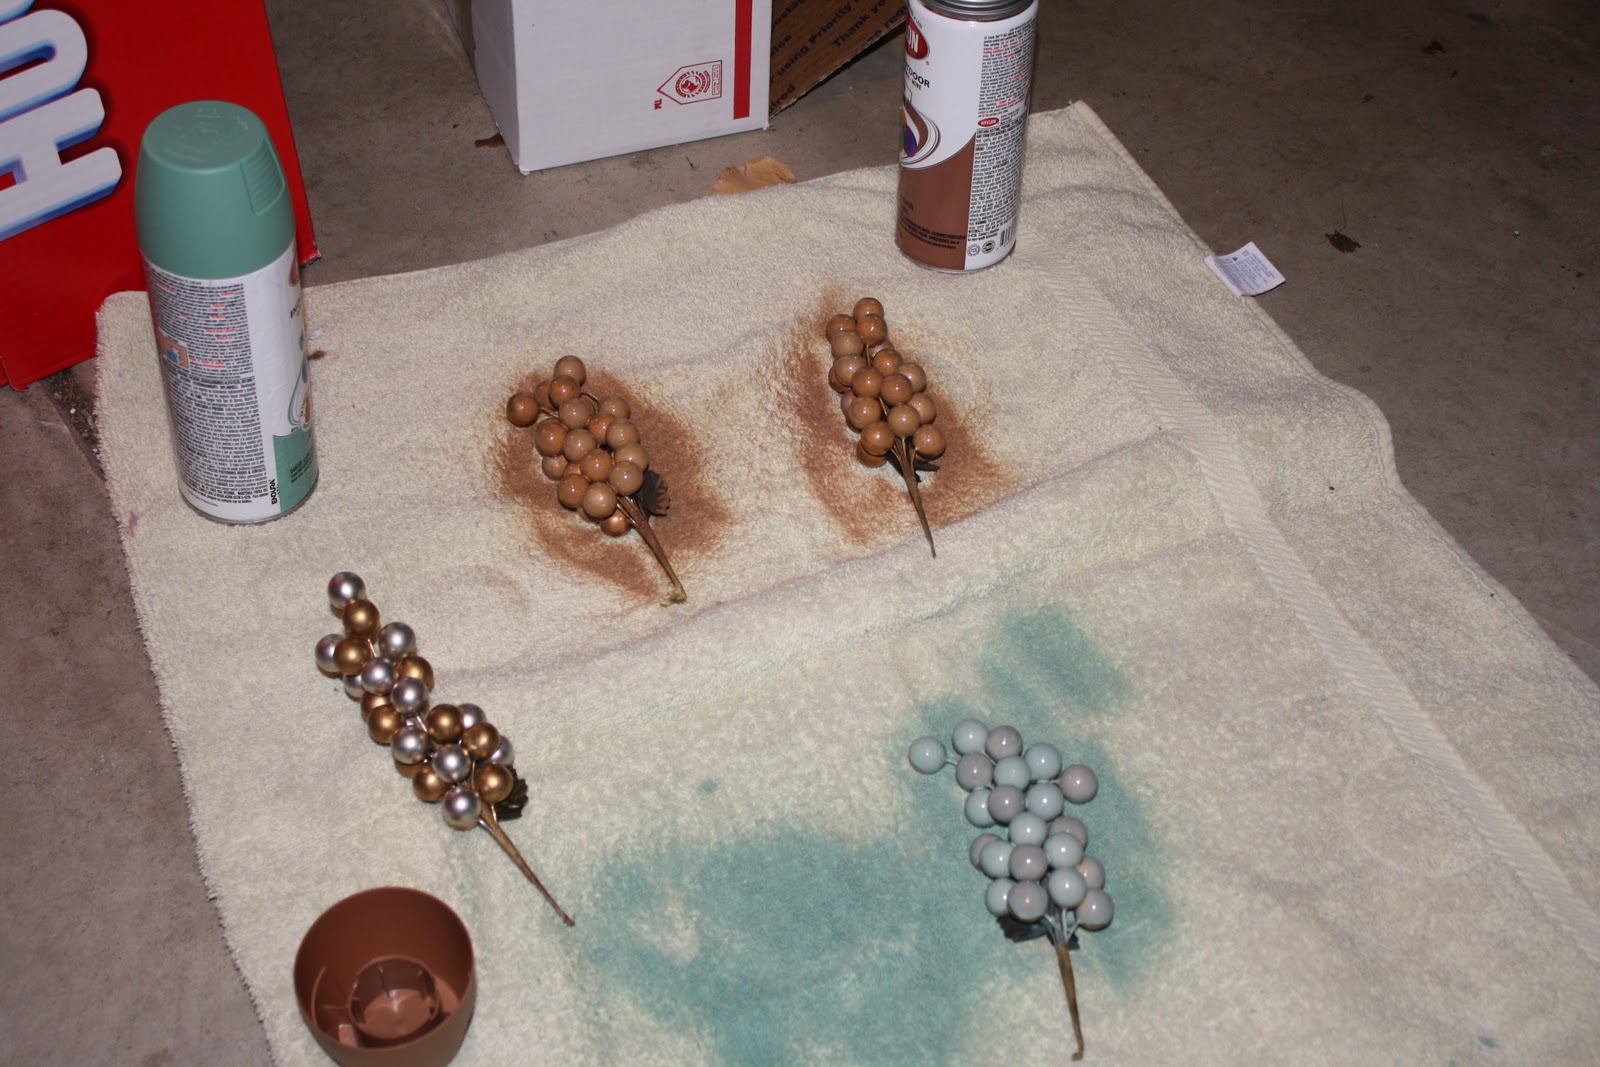
Anyhow, so out I went to my COLD garage with my Gold Berry picks, and began spray painting away with these colors: Sage and Brown Boots

They spray painted quite well, and to let them dry I poked the stems into a box and had them dry upright.
*on a side note: this blonde did not crack the door on the garage, thus got told by my loving Hubby if I didn't want to risk getting high off the fumes I had better at least crack the garage door to get some air flow.* What do I know???
If your doing this your self you might want to spread apart the stems and THEN spray paint them. They tended to stick and got these little notches on them...but it didn't look to bad. (and I didn't want to spray paint them again. Some of them had to have a second coat, just to cover the original color well.)

I also took a medium Styrofoam ball and spray painted it brown.
After every thing was dry I brought it all inside and began to assemble.
Things you need: (will list again at bottom of blog)
2 Styrofoam balls (1 painted 1 not painted)
*I spray painted the one the berries went into, just so the WHITE would not be seen*
a vase/pot
a long stick
(can use a dowel rod..but will need to paint it..I got a stick from my tree outside. Just make sure the stick and the Styrofoam ball you use compliment one another)
SEVERAL berry picks (I used 3 colors and 2 sizes ) I used about 10 berry picks
Hot Glue gun
Wire cutter
Flowers (if desired)

Began cutting the berry's off .....leave enough wire attached so you can poke it into the ball.

Began assembling. I placed my stick into the bottom first so I would know the top from the bottom.
I really kept NO pattern with the berries...liked the abstract look.
I also added some flowers into the mix...and I chose to use the flower buds that looked like they were just starting to open at the top then used the open blooms at the bottom of the ball. I just popped the flowers off the stem and HOT GLUED them into the spots. On the open blooms I put a few berries underneath the petals so they would pop out.

Once I was done. (that step took awhile...and keep the glue gun handy some of the berries like to fall out...but I tried to use it the least as I could.) Place the 2nd ball into your vase/pot and poke the stick into it. Make sure it is pushed down far enough to support your Topiary. (I had to purchase another base...due to the square floral foam I had bought did not Support it well...but the ball was a very Tight fit and worked great for the vase that I had.)

I hot glued on some floral moss and Wah-LAH----Project is done!
You LIKE???
I LIKE!!!!

2 Styrofoam balls (1 painted/ 1 plain)
1 stick
vase/pot
Several Berry picks approx 10-12 (I suggest 2 sizes to give you some depth...but you can do as you like.)
spray paint (IF berrys are not the color you want)
Wire cutter
Glue gun
Moss
HAVE FUN!!!!


4 comments:
The spray paint "bug" has already caught on with you too I see =) LOVE this project, Janella! Your topiary turned out SO CUTE!!
I love that! I'm so jealous of all you crafty people! :)
very cute!
That is absolutely adorable!!! You are so crafty sweetie :)
Post a Comment